• How to Create a Budget
  • How To Get Out Of Debt
  • How to Coupon

Penny Pinchin' Mom

  • About
    • FAQs
    • Speaker
  • Money
    • Budget
    • Couponing Tips
    • Financial Reboot Course
    • Getting Out of Debt
    • Money Saving Articles
    • Retirement/Investing
  • Recipes & DIY
    • DIY
    • Recipes >>
      • Appetizers
      • Beverages
      • Breakfast
      • Desserts
      • Entrees
      • Lunch
      • Kid Friendly
      • Side Dishes
  • Life & Family
    • Helpful Tips and Ideas
    • Organized Life
    • Parenting
    • Printables
    • Kids
  • Coupons & Deals
    • In-Store Deals
    • Free Kindle Books
    • On Line Deals
  • Contact
    • Advertising / Media
  • Shop

Burlap Tree DIY Home and Holiday Decor (Completed in 10 minutes or less!)

This post may contain affiliate links. That means if you click and buy, I may receive a small commission. Please see my full disclosure policy for details.

December 23, 2017

23 Dec
180shares
  • Share 10
  • Tweet

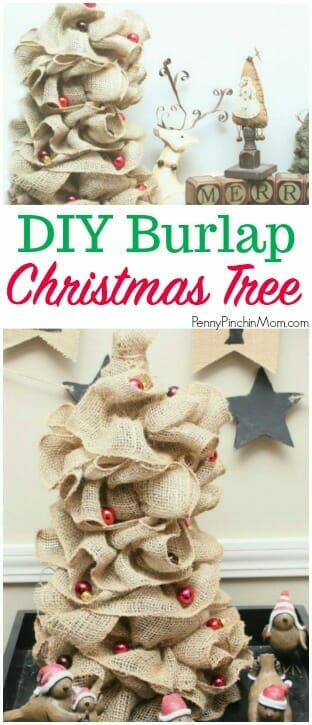
This burlap Christmas tree is easy to make.  In fact, it will take you around 10 minutes from start to finish!  It makes the perfect gift for someone — or to create and display yourself.  Not only is is adorable, it is affordable to make!

burlap Christmas tree

If you want to get creative, making an adorable, shabby chic burlap tree in just a few minutes.  10 to be exact. It not only looks amazing on your mantel, but it is an easy gift you can make and give to anyone you know.

HOW TO MAKE A BURLAP CHRISTMAS TREE

SUPPLIES

Styrofoam Cone
2 rolls of Burlap Ribbon
Hot Glue and Gun
Mini ornaments (optional)

DIRECTIONS

Start out by making a pull burlap garland (directions HERE).  You will need to create two sets of garland (to ensure you have enough to cover your tree).

Once the burlap has been pulled into the garland strands, with hot glue secure one end of the burlap to the bottom of the cone. *For extra security you can also use a tack or staple to attach the burlap to the cone.

Wind the garland around the tree, starting from the bottom and working your way to the top.  When you run out of one piece of garland, attach the next one where you left off (gluing it to the cone).  In order to ensure your tree is full enough, make sure you use both pieces of garland.

When you get to the top of the tree with the last piece of garland, wrap it over the top of the tree and use the little bit of leftover string (again, you’ll learn about this when you make your garland) and wrap it around the top of the tree.

The last step is to glue your small ornaments to the tree (if desired).  And then, your tree is done!!!
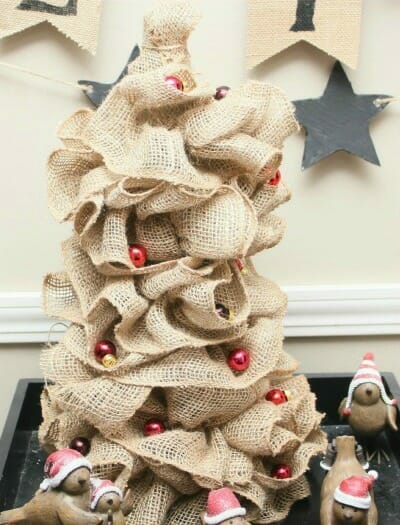
burlap Christmas tree

180shares
  • Share 10
  • Tweet
« PureSpa Deluxe Aromatherapy Oil Diffuser
Need a Last Minute Gift? »
Tracie Fobes, Owner
I'm Tracie! Several years ago, my husband and I found a way to work ourselves out of more than $35,000 in debt. As a result of our journey, we now help families learn to do the same. I share my tips on life, family and finances - to help others achieve this same goal of living a debt free life! Learn more about me and my family HERE.
Privacy Policy | Accessibility Policy | Disclosure Policy | Disclaimer

Copyright © 2009 - 2019 Penny Pinchin' Mom Media, LLC · All Rights Reserved

Site design by Olive & Ivy Design

Coupon Blog Technical Support provided by Lucky Dad Media LLC